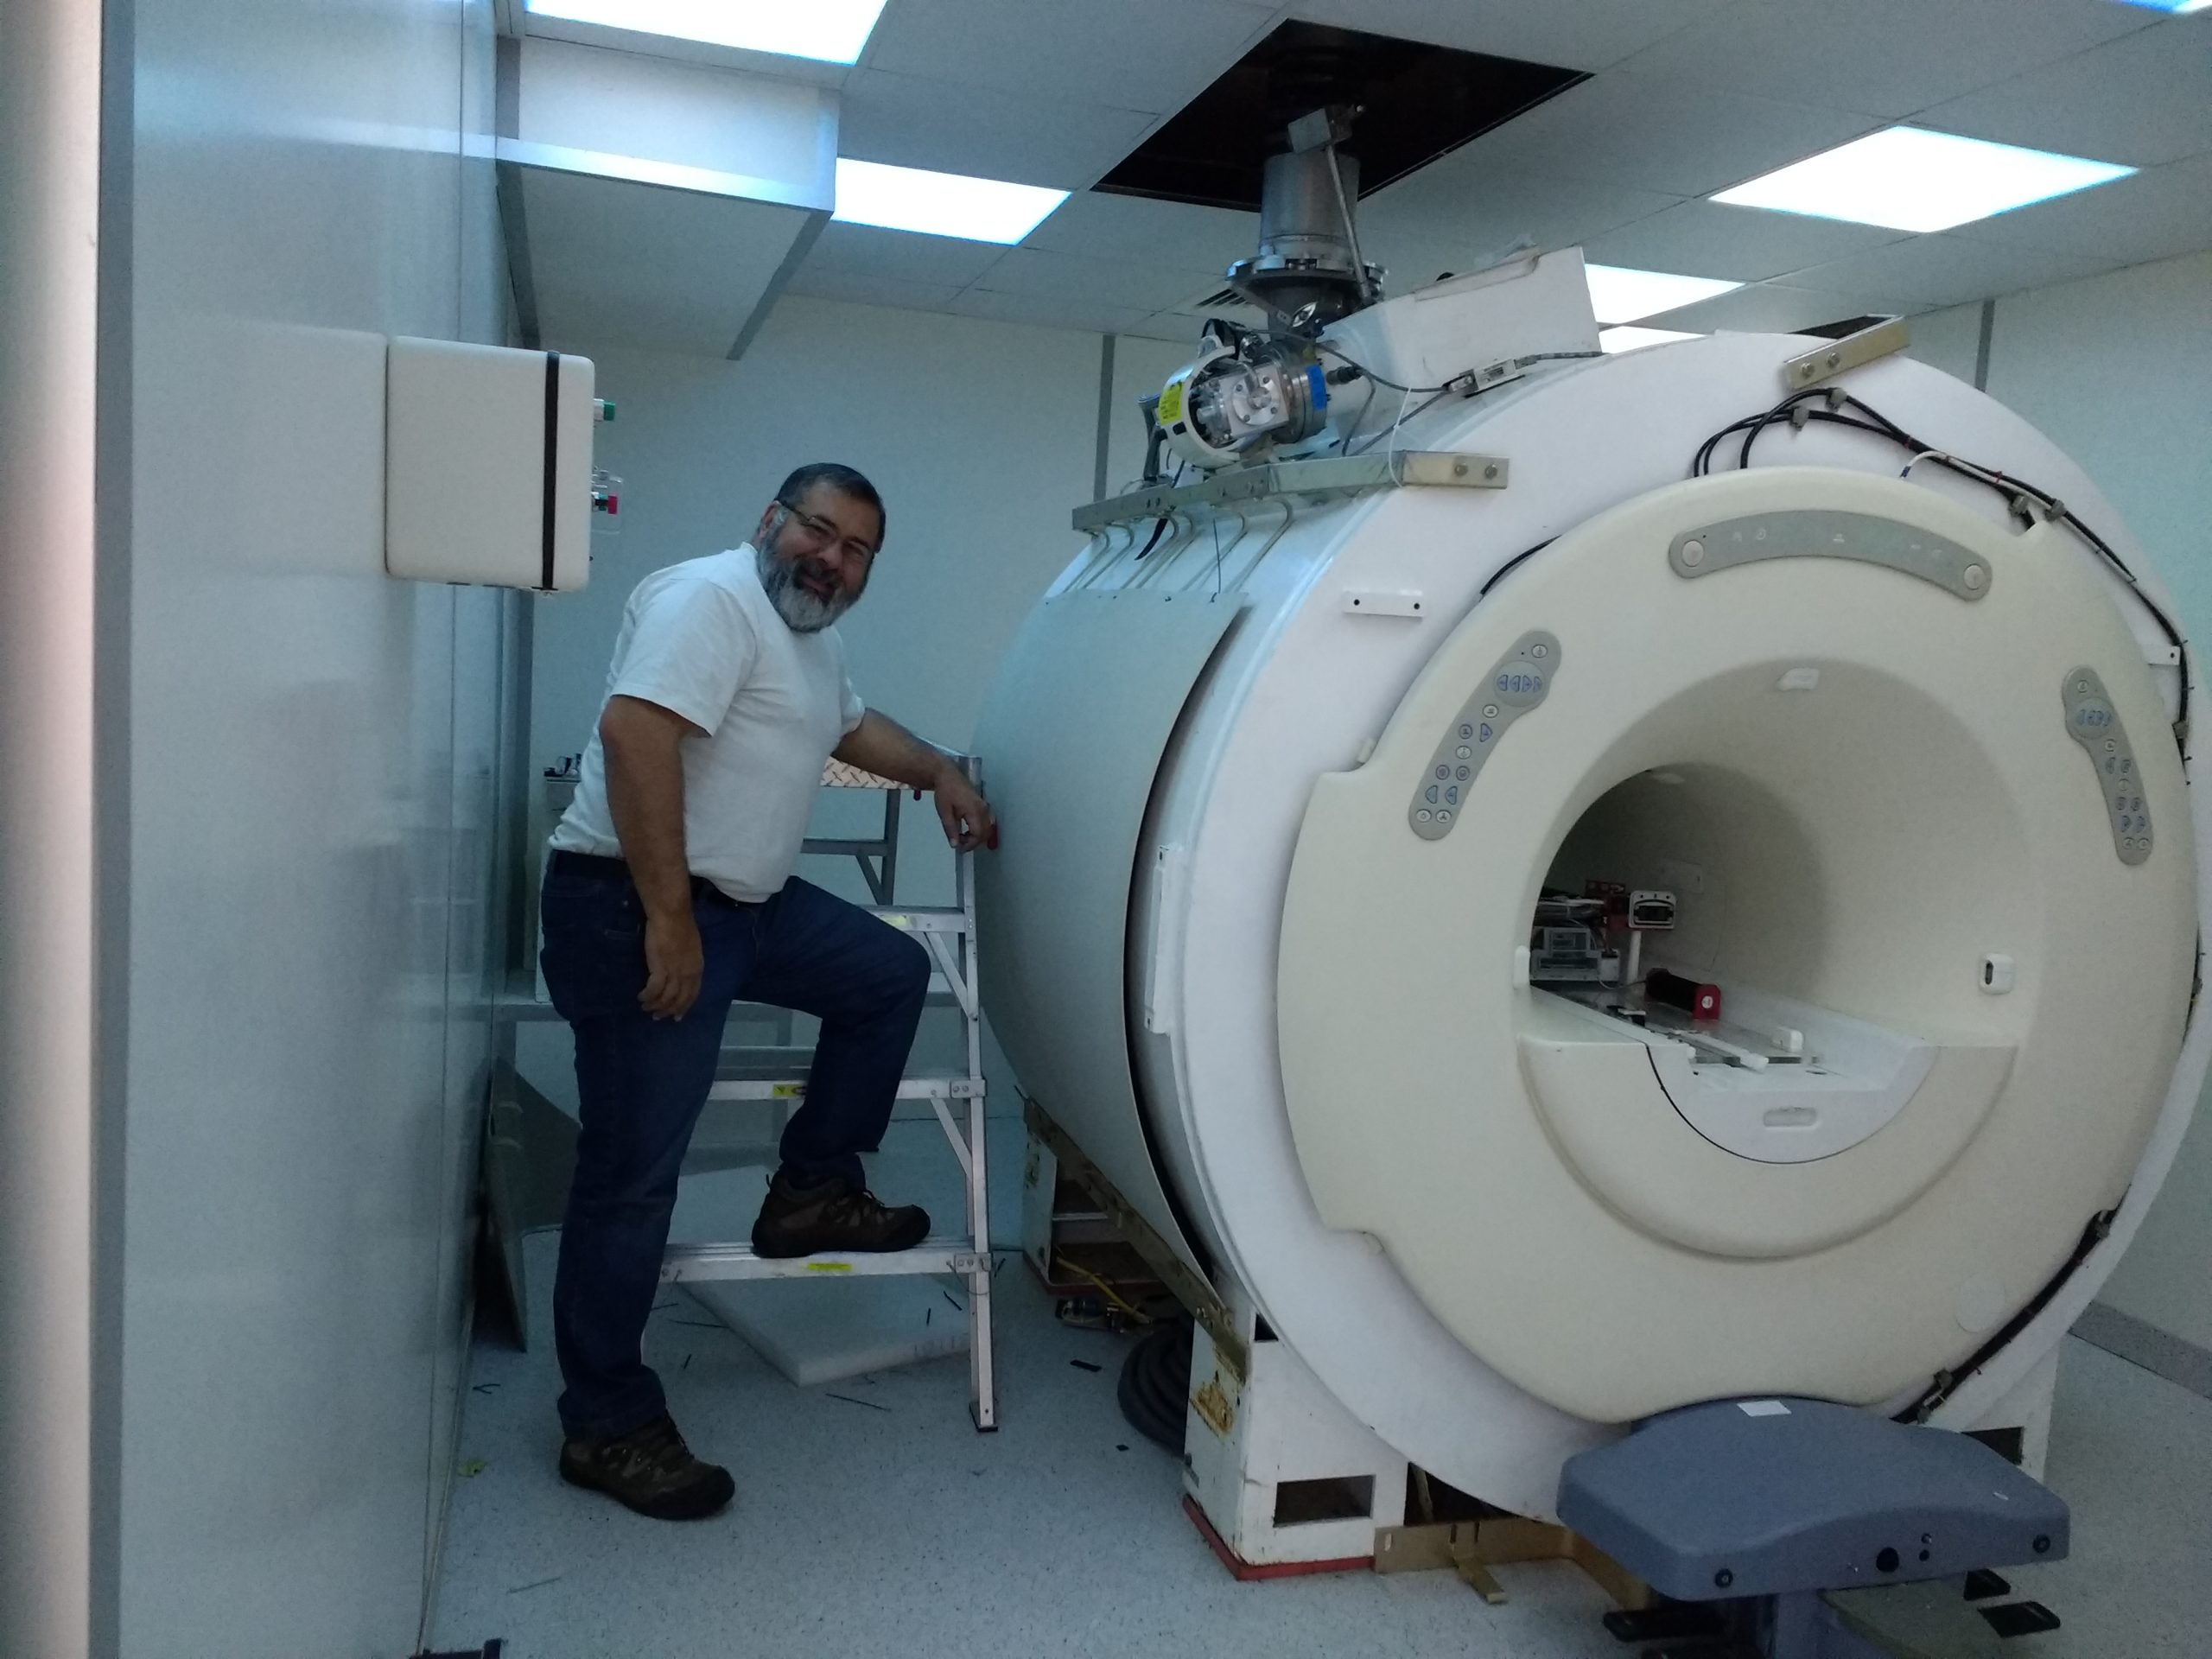
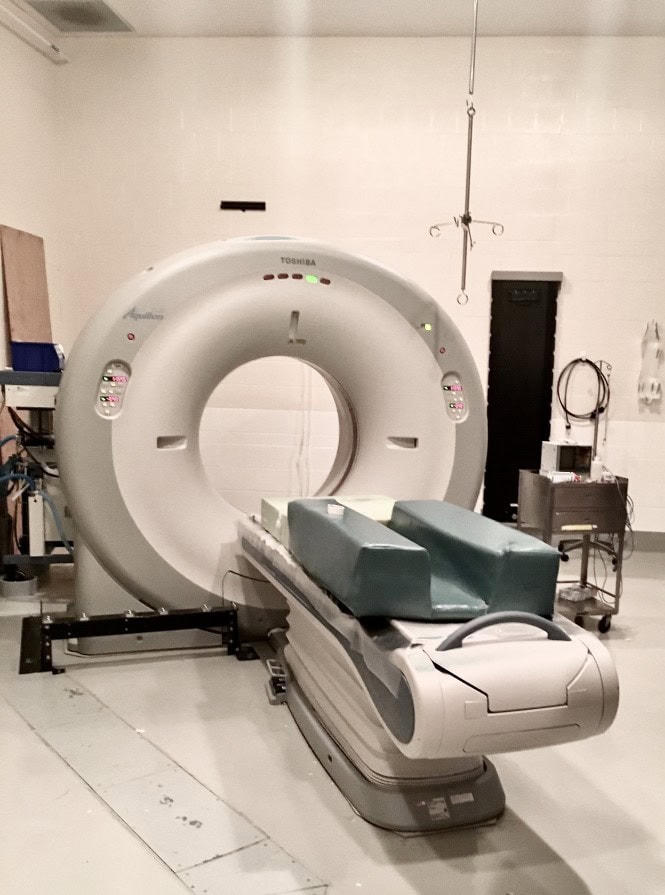
Europe – Customer Success Stories
Jun 18, 2025
Discover how we deliver affordable healthcare worldwide. Read customer stories from Europe and explore our imaging equipment and parts.
Today we’re discussing how to perform a “Quick Image Quality (IQ) Check” on a Philips system. The Quick IQ Check consists of one air calibration and an axial scan, allowing you to measure the main image quality parameter of a CT image.
WHY IS THIS IMPORTANT?
If your machine’s image quality is low, a radiologist might have difficulty detecting and interpreting the images during a patient’s CT scan. It is important the machine’s IQ meets OEM standards.
HOW TO PERFORM A QUICK IQ CHECK:
Step One: Position the water layer of the head phantom in the center of the scan circle, and zero the couch position.
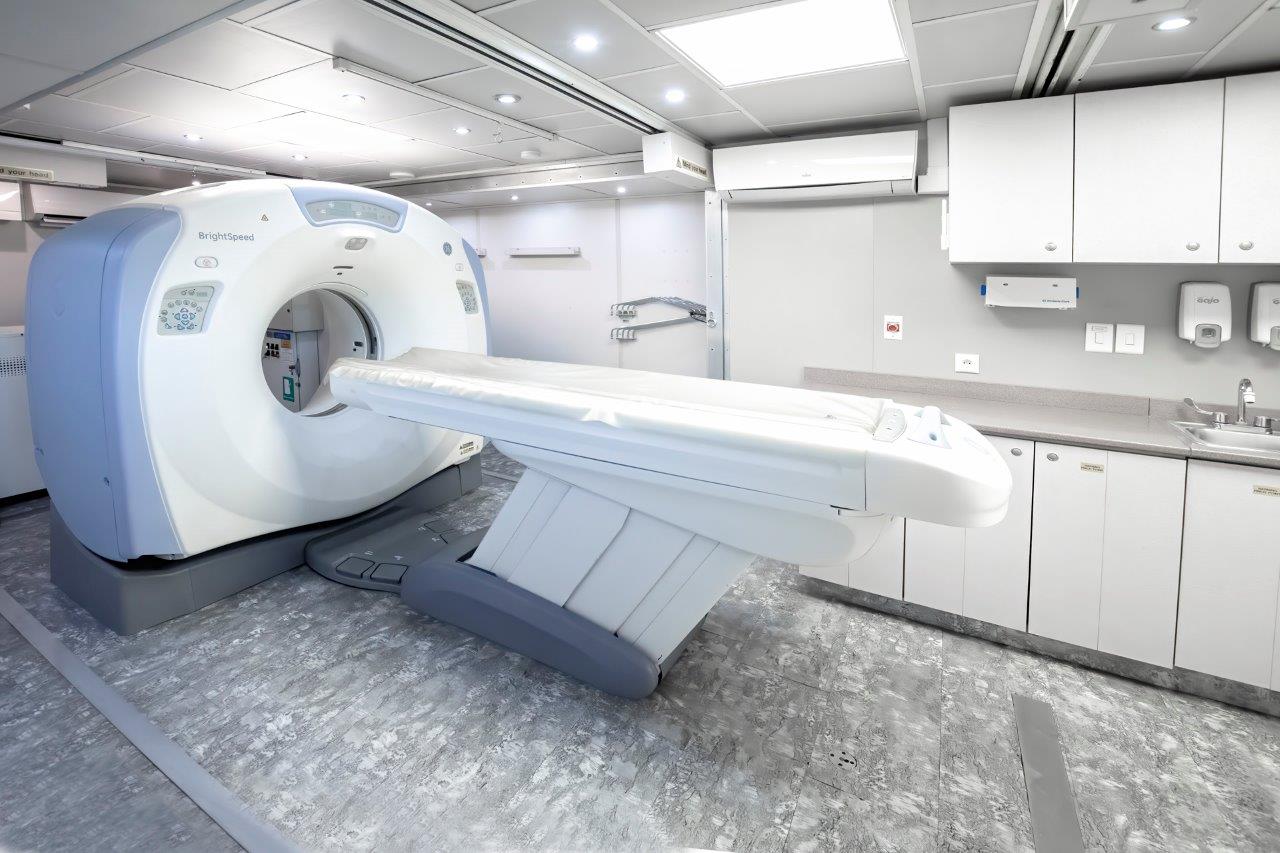
Step Two: From the Home window, click Quick IQ Check on the utility menu (see Image 1). The Quick IQ Check menu displays.
Step Three: Click the Automatic Test button in the Quick IQ Check menu (see Image 1).
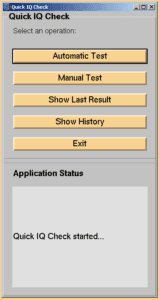
Image 1
Step Four: Click the Scan button when the Warning sign pops up (see Image 2).

Image 2
Step Five: Wait approximately two minutes.
Step Six: Check that all defined tests have passed (see Image 3).
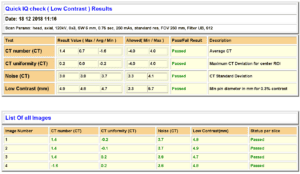
Image 3
Step Seven: If all tests passed, next stop: clinical scanning!
All product and company names are trademarks™ or registered® trademarks of their respective holders. Use of the trademarks is solely for identification purposes, and does not imply any affiliation with or endorsement by the trademark holders.
Questions, Comments, Concerns?
"*" indicates required fields
Europe – Customer Success Stories
Jun 18, 2025
Discover how we deliver affordable healthcare worldwide. Read customer stories from Europe and explore our imaging equipment and parts.
Africa – Customer Success Stories
Jun 12, 2025
Explore how we make quality healthcare accessible around the world. Read stories from Africa and discover our medical imaging equipment and parts.
The Answer to Rising Medical Tech Costs – Second Hand Scanners
Jun 10, 2021
One of the biggest challenges that poorer nations face is the constant battle against diseases, especially those associated with middle to old-age individuals. This is...

What You Can Expect from CT Scanners in the GE Optima Family
May 28, 2021
If there is any widely-known name and brand in the CT scanner world, it is GE. From its Hispeeds and Optimas, GE has been incredible...
Tips for Buying the Best CT Scanner for Veterinarians
Nov 10, 2020
Being a veterinarian means ensuring the well-being of animals under your care. One effective way to do this is to invest in a CT scanner....

Sep 29, 2020
There have been some imitators promoting Tech Tip Tuesday’s recently but the originators are continuing to bring you Tech Tip Tuesday’s with another Joe Sam...
Siemens Definition CT Tube Identification
Apr 28, 2020
In this tip, Matt covers the key things to look for when identifying what type of tube you require on your Siemens Definition system. The...

Dec 11, 2019
In this tip, Kevin covers using a break out box when troubleshooting your Siemens Definition CT system. A good way to isolate and measure problems...
Oct 30, 2019
In today’s tip Kevin talks about a simple foam protector strip that comes with every Siemens CT system. Quickly can be installed on any system...

Aug 10, 2019
In this tip Kevin covers the safe way to service your Siemens Definition gantry by properly shutting off the power before beginning any service work....